
Barika for Klaviyo Installation Guide
Connect your Klaviyo account to Barika. Choose your channels, authorize placements, and complete onboarding in about 5 minutes.
1. Overview and & time estimates
This guide walks you through connecting your Klaviyo account to Barika. Once connected, you can embed partner offers in your Klaviyo email flows to earn revenue or reach new customers with your own offers..
Time Required: 10-15 minutes per flow
2. Prerequisites
Before starting, ensure you have Admin access to your Klaviyo account (required for OAuth authorization)
3. Chose your path
Before starting, ensure you have Admin access to your Klaviyo account (required for OAuth authorization)
| Path | Best For |
|---|---|
| Path A: From Klaviyo | If you discovered Barika in the Klaviyo App Centre |
| Path B: From Barika | If you're already using Barika and want to add Klaviyo |
Both paths result in the same connection. Choose whichever is more convenient.
4. Understanding core pre-installation details
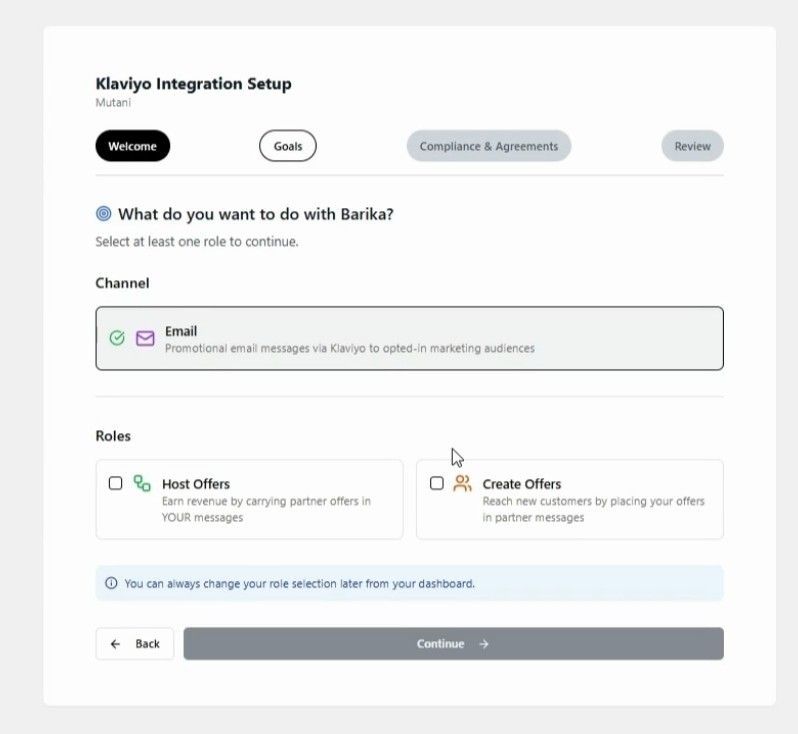
4.1 Installation goals
Installation goals
| Selection | What It Means |
|---|---|
| Enable email co-marketing in your flows | |
| Host Partner | Earn revenue by embedding partner offers in your messages |
| Offer Partner | Place your offers in other brands' messages |
You must select at least one channel AND one role to proceed.
4.2 Klaviyo flow selection & setup
Host Setup (For Host Partners)
During Host Setup, you'll:
1 - Select Flows — Pick specific Klaviyo flows where offers can appear
2 - Configure Flows — Pick your industry/sector, message moments, etc. Note that message types (e.g., order confirmations, shipping updates) will be automatically populated. This is chosen based on your flow selections in above.
3 - Review Consent — Confirm you understand how partner offers will be embedded
Offer Setup (For Offer Partners)
During Offer Setup, you'll:
1 - Consent to place offers in other brands transactional messages
5. Step by step installation instructions
5.1 Path A: Installation from Klaviyo
You'll need: A Klaviyo account
Step 1: Find Barika in Klaviyo
1 - Log into your Klaviyo account
2 - Go to Integrations → Explore Apps (or visit the Klaviyo App Centre)
3 - Search for "Barika" or "Barika for Klaviyo"
4 - Click on the Barika for Klaviyo app
5 - You will be sent to Klaviyo marketplace page for Barika for Klaviyo
Step 2: Start Installation
1 - Click Install
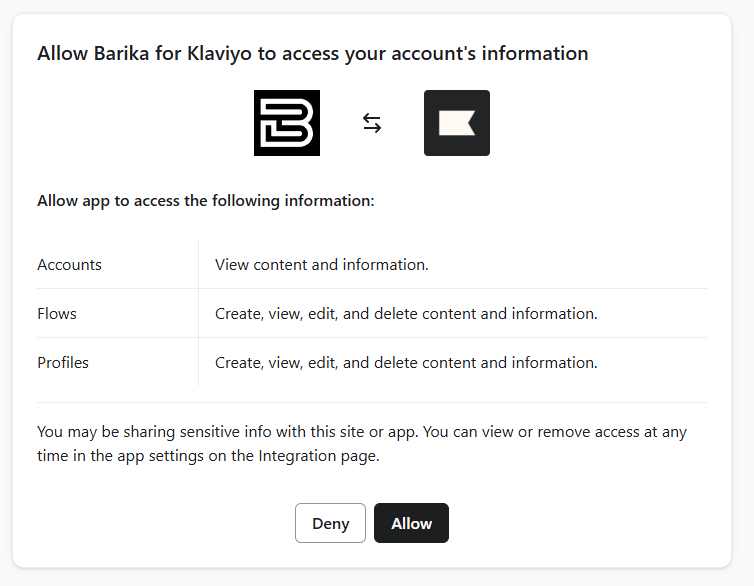
2 - Review the permissions Barika requires:
- Read account information
- Read and manage flows
- Read profile information
3 - Click 'Allow' to authorise
Step 3: Start Installation
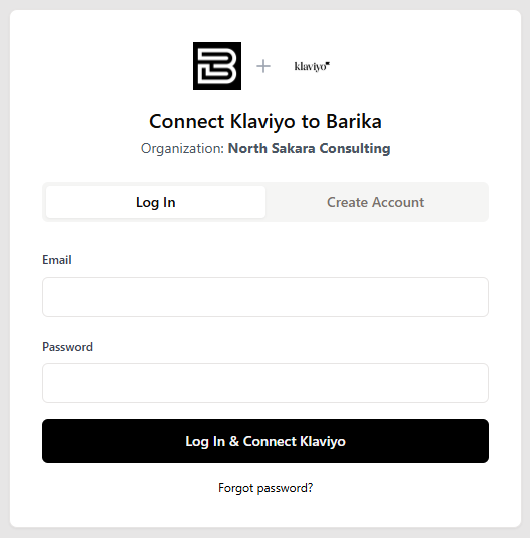
After authorization, you'll see the Barika + Klaviyo connect page showing your Klaviyo organization name:
If you already have a Barika account:
- Click the Log In tab
- Enter your Barika email and password
- Click Log In & Connect Klaviyo
If you're new to Barika:
- Click the Create Account tab
- Enter your brand name, email, full name, and password
- Click Create Account & Connect Klaviyo
Step 4: Complete Barika Onboarding
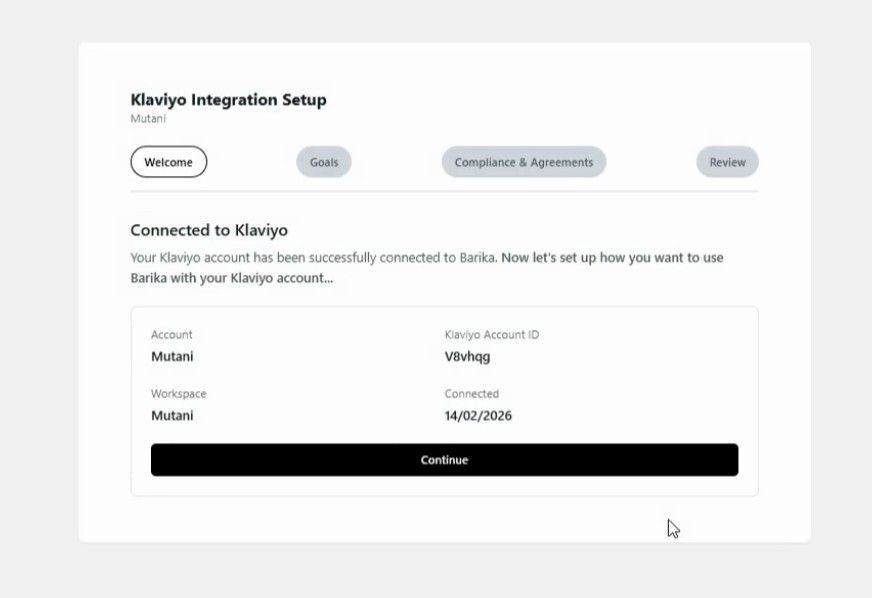
After authorization, you'll be redirected to Barika to complete setup:
1 - Welcome page — Confirm your connection
2 - Goal page (choose your installation goals) — Select roles (Host Partner, Offer Partner, or both)
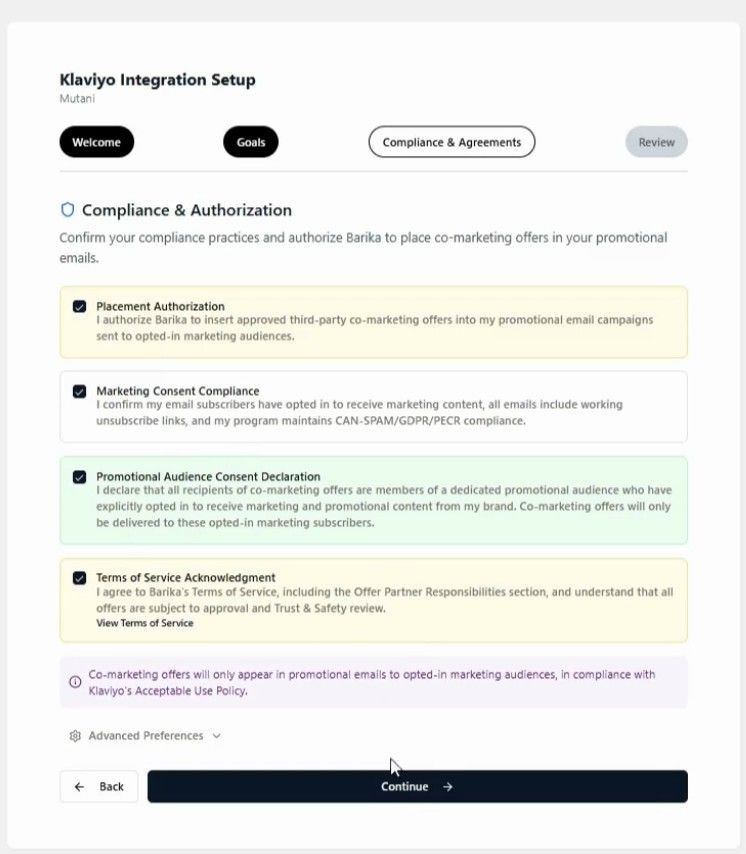
3 - Compliance — Review and accept the co-marketing terms
4 -
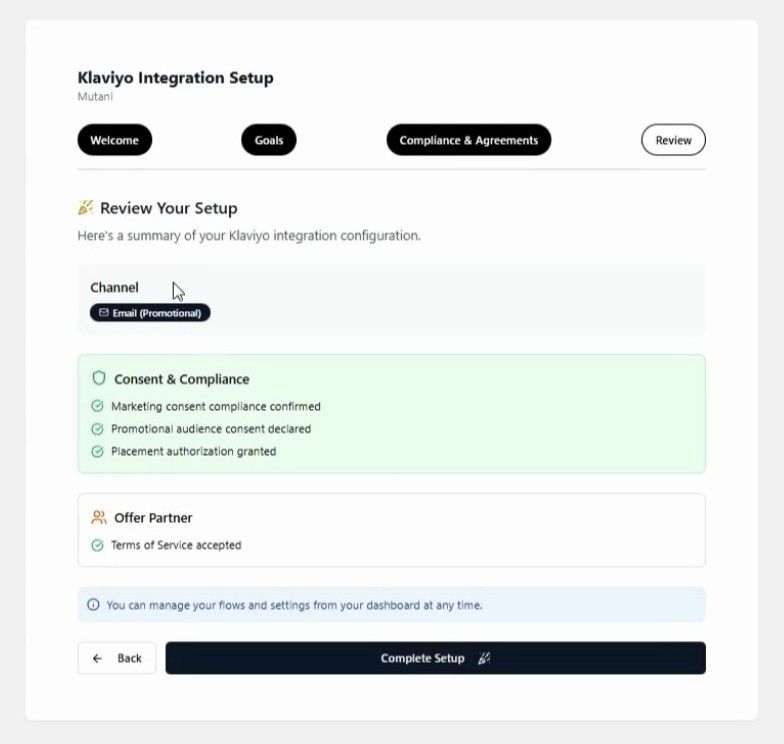
Review
— Your connection is now active
Step 4: Verify Connection
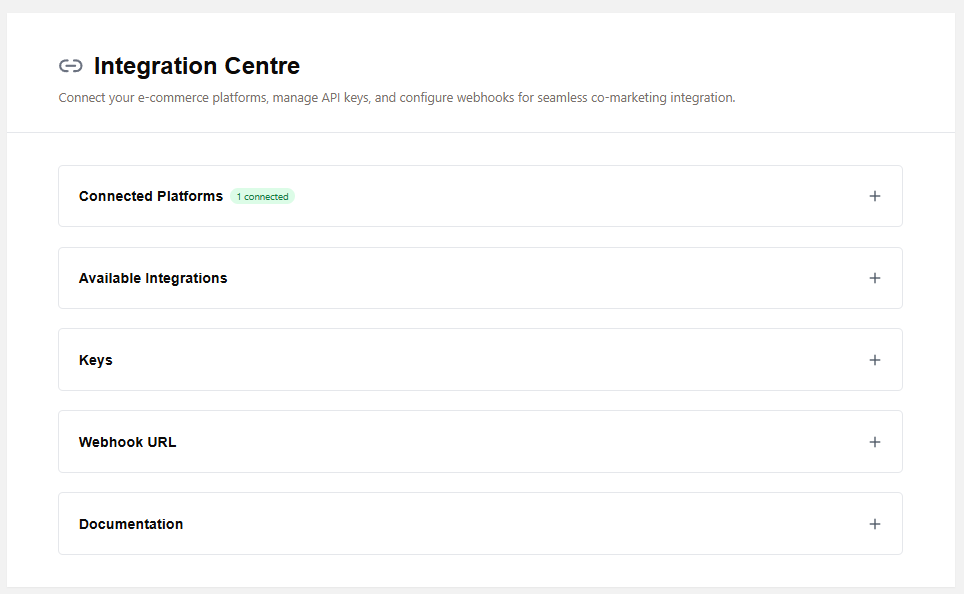
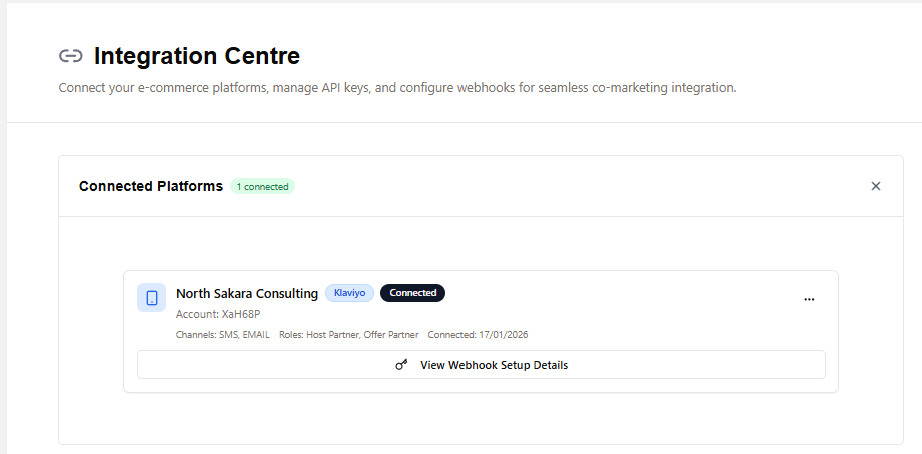
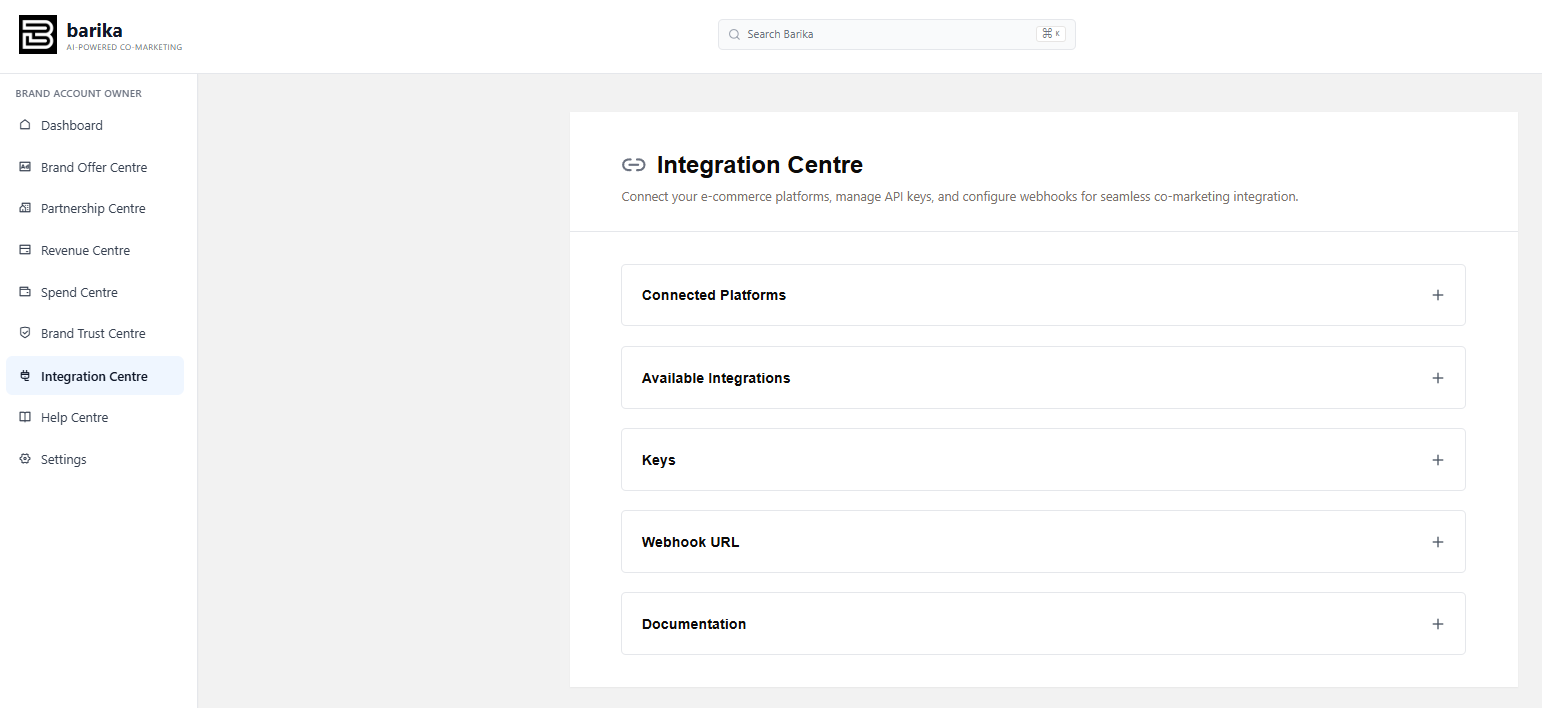
1 - In Barika, go to Integration Centre
2 - You should see your Klaviyo account listed under Connected Platforms
3 - Status should show Connected
Step 4: Verify Connection
1 - In Barika, go to Integration Centre
2 - You should see your Klaviyo account listed under Connected Platforms
3 - Status should show Connected
Step 5: Add your flows
1 - Go to the Klaviyo connection settings page in the Integration Centre
2 - Expand the 'Connected Flows' section.
3 - Add your Klaviyo flows that will enable Barika for Klaviyo co-marketing
Note that if you cannot find any flows, that is because you have not setup flows in Klaviyo. You will need to setup at least one flow in Klaviyo before you can add Klaviyo flows in Barika.
5.2 Path B: Installation from Barika Integration Centre
You'll need: A Barika account and a Klaviyo account
Step 1: Navigate to Integration Centre
1 - Log into your Barika account
2 - Go to Integration Centre from the main navigation
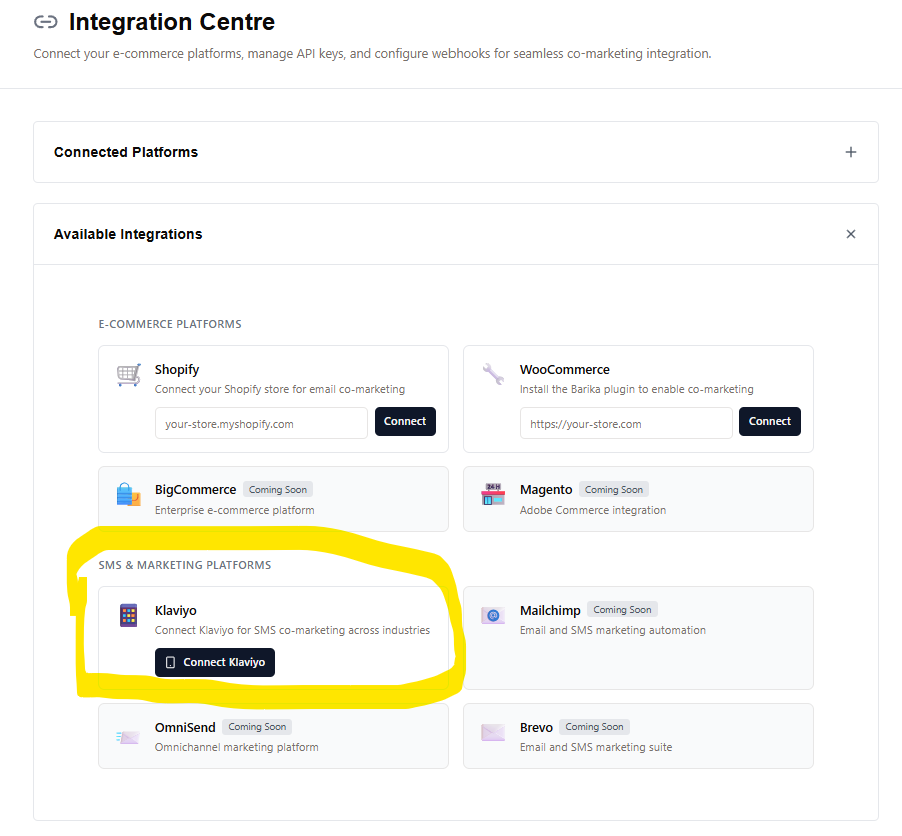
3 - Click Available Integrations
Step 2: Select Klaviyo
1 - Find Klaviyo in the list of available integrations
2 - Click Connect
Step 3 and 4: Follow the same steps as in Path A
6. After installation
Once your Klaviyo connection is active, complete these next steps:
For Host Partners
1 - Set up Stripe payout — Connect your Stripe account in Finance Centre to receive your 70% revenue share
2 - Add webhooks to your flows — Follow the Klaviyo Webhook Setup Guide to add Barika to your Klaviyo flows
3 - Configure trust settings — Set category restrictions and brand controls in Brand Trust Centre
For Offer Partners
1 - Enable auto top-up — Required to keep your offers running
2 - Add funds to your wallet — Top up in Spend Centre
3 - Create your first offer — Build an offer in Spend Centre and submit for approval
This guide walks you through connecting your Klaviyo account to Barika. Once connected, you can embed partner offers in your Klaviyo email and SMS flows to earn revenue or reach new customers with your own offers..
Time Required: 10-15 minutes per flow
7. Troubleshooting
7.1 Authorisation failed
Problem: Klaviyo shows an error during authorization
Solutions:
- Ensure you have admin access to your Klaviyo account
- Try logging out of Klaviyo, then log back in and retry
- Clear your browser cache and cookies
- Contact support if the issue persists (support@barika.ai)
7.2 Connection Not Showing in Barika
Problem: After authorization, Klaviyo doesn't appear in Integration Centre
Solutions:
- Wait 30 seconds and refresh the page
- Check that you completed all onboarding steps
- Try disconnecting and reconnecting from Klaviyo
- Contact support if the issue persists (support@barika.ai)
7.3 Onboarding Stuck or Incomplete
Problem: Onboarding wizard doesn't advance or shows errors
Solutions:
- Refresh the page and try again
- Ensure you've selected at least one channel AND one role
- Check your internet connection
- Contact support if the issue persists (support@barika.ai)
8. Managing your connection
8.1 View Connection Details
- Go to Integration Centre → Connected Platforms
- Click on your Klaviyo connection
- View your Connection ID, Webhook Secret, and enabled flows
8.2 Disconnect Klaviyo
- Go to Integration Centre → Connected Platforms
- Click on your Klaviyo connection
- Click Disconnect or Remove Connection
- Confirm the disconnection
Note:
Disconnecting will stop all offer matching for your Klaviyo flows. Any pending earnings will still be paid out.
8.3 Reconnect After Disconnecting
Simply follow Option A or Option B again to reconnect. Your previous settings will not be preserved—you'll need to complete onboarding again.
9. Next steps
Add Barika webhooks to your Klaviyo flows - Klaviyo Webhook Setup Guide